Beverage photography is a vital aspect of marketing for any beverage company. It not only showcases the product’s appearance and taste, but it also creates a sense of atmosphere and lifestyle that customers can identify with. However, crafting stunning beverage photography can be challenging, especially for those new to the field. Here are seven secrets to help you take your beverage photography to the next level.


- Lighting is Key
Proper lighting can make or break a beverage photograph. A well-lit drink will have a clear, vibrant color and a visible bubbles or foam. A poorly lit drink will appear dark and unappealing. To achieve the best lighting, try using natural light or a soft box. Avoid using harsh lighting as it can create unwanted reflections and shadows.
- Use the Right Camera Settings
When photographing beverages, it’s essential to use the right camera settings to capture the drink’s color, clarity, and bubbles or foam. A high aperture, such as f/8 or f/11, will ensure the entire beverage is sharp.
- Get the Right Angle
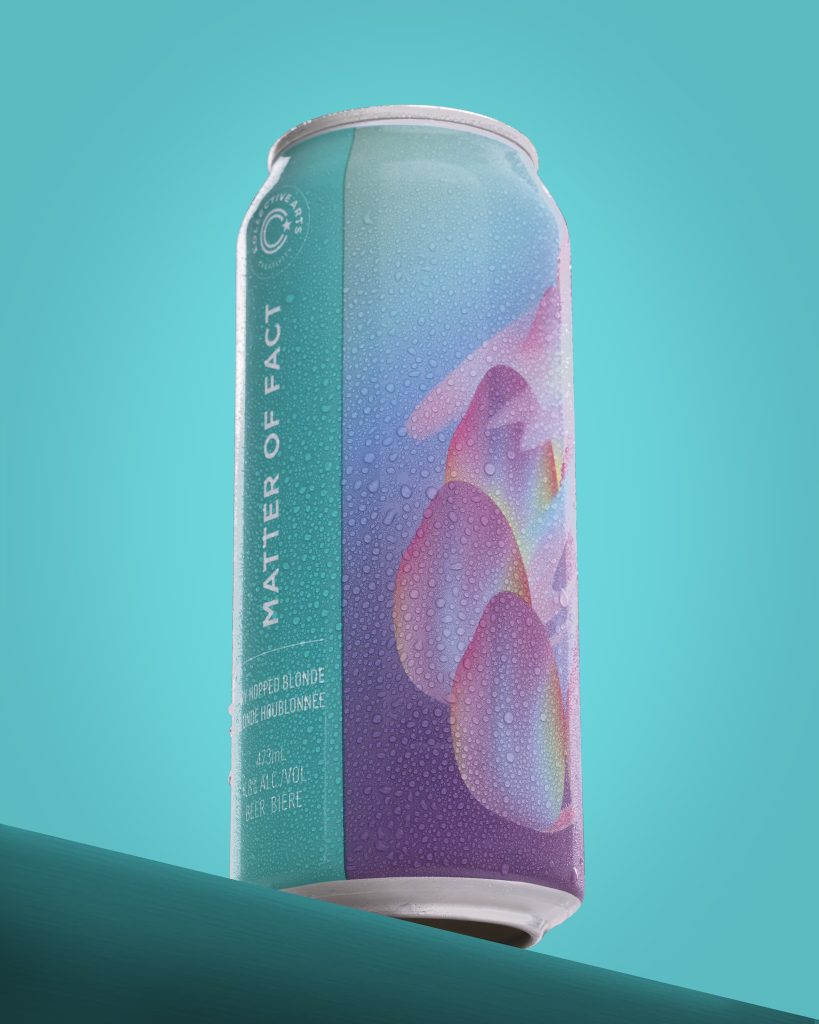
The angle at which you photograph the drink can significantly affect the final image. A straight-on shot can be boring, while a low angle shot can make the drink appear larger and more prominent. Experiment with different angles to see what works best for your drink and brand.


- Use Props and Garnishes
Props and garnishes can add an extra layer of interest to your beverage photography. Consider adding a slice of lime or a sprig of mint to your cocktail, or a slice of orange to your beer. This can add a sense of atmosphere and lifestyle that customers can identify with.
- Pay Attention to Background
The background of your beverage photograph can add or detract from the overall image. A simple background, such as a solid color or a textured surface, can make the drink stand out. Avoid using busy or distracting backgrounds, as they can take away from the drink’s appearance.
- Experiment with Motion
Capturing motion can add an extra layer of interest to your beverage photography. Consider using a slow shutter speed to capture the bubbles in a drink or the motion of a garnish.
- Edit Carefully
Post-processing is an essential step in beverage photography. It allows you to enhance color, contrast, and clarity, and remove any unwanted elements from the photograph. However, be careful not to over-edit, as it can make the drink appear unnatural and unappealing.
These tips will assist in crafting stunning beverage photography that showcases your product in the best possible light and attract new customers to your company. Remember to experiment and have fun, and don’t be afraid to try new things. Happy shooting!


